
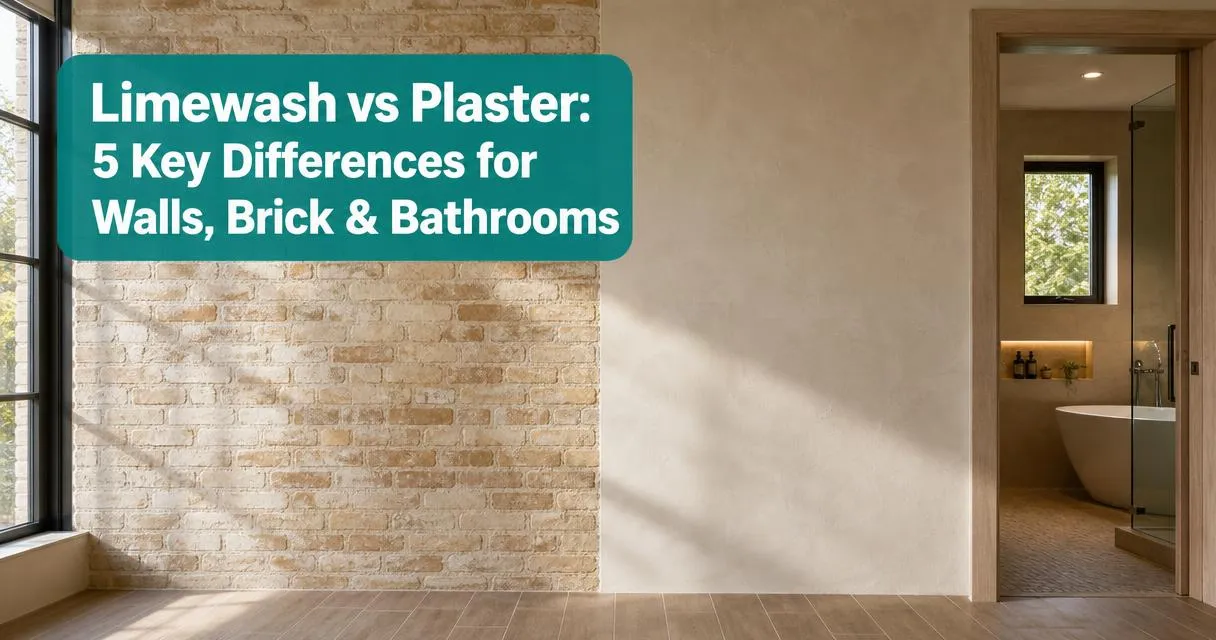
Your brick walls, bare plaster, or drywall need character. Someone mentioned limewash while someone else swears by lime plaster. These are not interchangeable finishes.
Limewash is a thin breathable coating you brush on like paint. Lime plaster is a thick troweled layer that becomes part of the wall. Your budget, surface type, and whether you’re DIYing or hiring a pro will settle the question fast.
Key Takeaways
- Limewash is a thin coating made from slaked lime, water, and pigment that soaks into porous surfaces; lime plaster is a thick structural layer applied with a trowel that bonds to the substrate
- Limewash works best on brick, stone, and masonry exteriors where breathability matters; lime plaster excels in bathrooms and interior walls that resist mold and moisture
- Cost difference is substantial: limewash runs $1 – 3 per square foot for materials and basic labor, while lime plaster typically costs $8 – 15 per square foot due to intensive trowel work
- DIYers can achieve good results with limewash after watching a few tutorials; lime plaster requires trowel skills, timing expertise, and multiple coats that most homeowners hire out
- Venetian plaster is a polished, burnished version of lime plaster, not a separate material or category
- Limewash rubs off with friction and needs recoating every 5 – 7 years; lime plaster can last decades without maintenance once fully cured
- Both finishes are highly breathable and antimicrobial, making them better than conventional paint in damp spaces
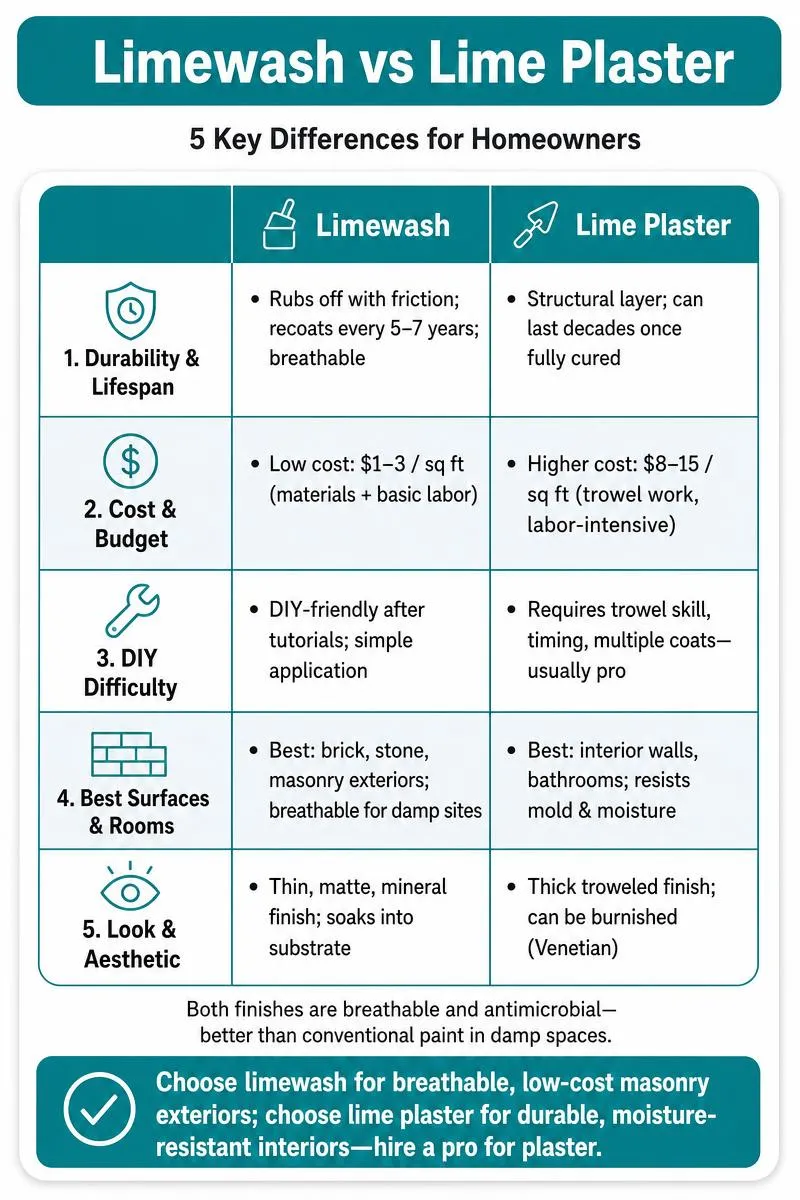
Limewash Vs Plaster Quick Comparison
| Feature | Limewash | Lime Plaster |
|---|---|---|
| Durability & Lifespan | Rubs off with friction; recoats every 5–7 years; breathable | Structural layer; can last decades once fully cured |
| Cost & Budget | Low cost: $1–3 / sq ft (materials + basic labor) | Higher cost: $8–15 / sq ft (trowel work, labor-intensive) |
| DIY Difficulty | DIY-friendly after tutorials; simple application | Requires trowel skill, timing, multiple coats; usually pro |
| Best Surfaces & Rooms | Best: brick, stone, masonry exteriors; breathable for damp sites | Best: interior walls, bathrooms; resists mold & moisture |
| Look & Aesthetic | Thin, matte, mineral finish; soaks into substrate | Thick troweled finish; can be burnished (Venetian) |
What Is Limewash?
Limewash is a coating made from slaked lime (calcium hydroxide) mixed with water and optional natural pigments. It goes on thin like paint but soaks into porous surfaces rather than sitting on top as a film. The calcium hydroxide gradually carbonates as it dries, bonding with the substrate through a chemical reaction rather than mechanical adhesion.
The best surfaces for limewash are:
- Unpainted brick that absorbs limewash for deep bonding
- Natural stone with porous texture for chemical adhesion
- Stucco and lime-based masonry with compatible lime chemistry
- Interior drywall if primed to create a porous bonding surface, though the look works better on textured walls
Limewash struggles on sealed, glazed, or painted surfaces because it needs porosity to bond.
Strengths:
- Breathability that lets moisture vapor escape through the wall
- Soft matte finish with natural color variation
- Easy touch-ups since new coats blend with old layers
- Eco-friendly with zero VOCs and naturally resists mold due to high pH
Weaknesses:
- Limewash rubs off with contact, so high-traffic areas show wear quickly
- Only delivers matte finishes; no polished option exists
- Most projects need two to four coats to achieve even coverage
- Thin consistency causes drips and streaks if overapplied
Related Reading
A practical guide on using drywall sealers and primers to prep and protect porous surfaces like plaster before…
What Is Lime Plaster?
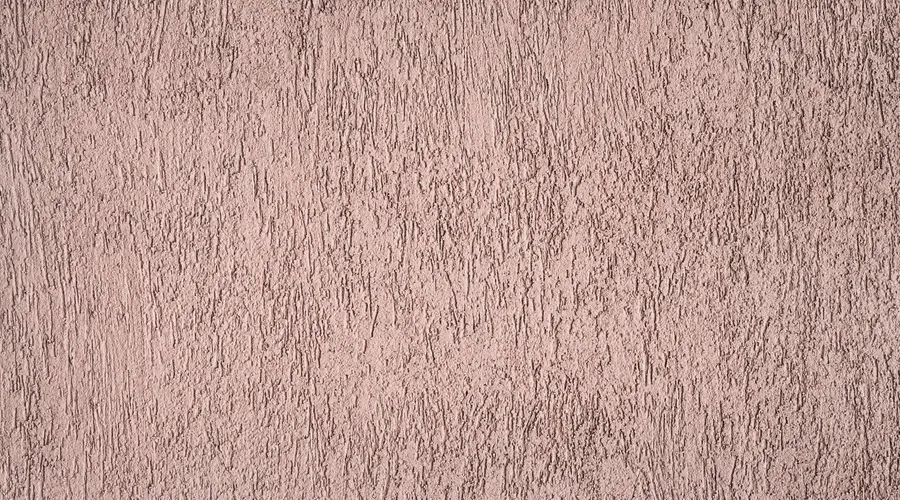
Lime plaster is a thick paste made from slaked lime mixed with sand aggregate, sometimes with natural fibers like hemp or horsehair for reinforcement. You apply it with a trowel in layers, building up thickness from 1/8 inch to over half an inch depending on the finish. Each coat bonds chemically as it carbonates, creating a hard, integral surface.
The best surfaces for lime plaster are:
- Interior walls over drywall with proper structural backing
- Cement board in wet areas that resists moisture damage
- Traditional lath for historic restoration compatibility
- Bathroom walls and ceilings where mold resistance matters
- Exterior walls in mild climates, though cement renders handle harsh weather better
Plaster needs a solid substrate that won’t flex. It cracks if applied over flimsy drywall without proper backing.
Strengths:
- Exceptional durability that lasts decades without refinishing
- Natural mold and mildew resistance without chemical additives
- Visual depth that flat paint can’t match
- Adjustable from textured to smooth to polished Venetian
- Regulates indoor humidity by absorbing and releasing moisture vapor
Weaknesses:
- Application is labor-intensive, requiring multiple coats with drying time between each layer
- Trowel skill separates pros from amateurs, so most homeowners hire professionals
- Material and labor costs run three to five times higher than limewash
- Curing takes weeks to full hardness, and you need to protect from rapid drying or freezing during that window

Head-to-Head: 5 Dimensions
Here’s how limewash and lime plaster compare on the factors that matter most.
1. Durability & Lifespan
Lime plaster wins on raw durability. Once fully cured, a properly applied lime plaster wall can last 50+ years without refinishing. It becomes rock-hard and resists impact damage better than drywall or conventional plaster.
Limewash needs periodic recoating. Expect to refresh exterior limewash every 5 – 7 years as UV exposure and weather cause gradual erosion. Interior limewash lasts longer in low-traffic areas, sometimes 10 – 15 years.
The chalky surface rubs off with friction, leaving marks and thin spots that eventually need another coat.
2. Cost & Budget
Limewash is the budget-friendly option by a wide margin. Materials run $0.50 – $1.50 per square foot for quality limewash concentrate. Application labor (if hired out) adds $1 – 2 per square foot for straightforward surfaces.
A 200-square-foot brick wall might cost $200 – $600 total.
Lime plaster costs substantially more. Materials alone run $2 – 4 per square foot for lime and sand. Skilled labor dominates the budget at $6 – 12 per square foot.
That same 200-square-foot area could cost $1,600 – $3,200. Venetian plaster pushes even higher, sometimes reaching $15 – $20 per square foot with an experienced artisan.
3. DIY Difficulty
Limewash is achievable for motivated DIYers. The application technique resembles painting but with more texture variation. You’ll use a masonry brush or block brush with crisscross strokes, misting the surface beforehand to control absorption.
Mistakes are forgiving since additional coats blend in seamlessly. You can remove fresh limewash with water if you need to restart a section.
Lime plaster demands professional skills or serious practice. Troweling requires even pressure, proper timing between coats, and an eye for flatness or intentional texture.
Incorrect mix ratios or rushed drying causes cracking, and fixing bad plaster means grinding it off and starting over. Most homeowners who attempt lime plaster DIY end up hiring a pro to fix the results, doubling the final cost.
4. Best Surfaces & Rooms
Limewash thrives on:
- Brick exteriors where breathability prevents moisture trapping
- Stone facades that need a natural-looking coating
- Stucco surfaces compatible with lime-based materials
- Brick fireplaces where the matte finish complements masonry
It also works on interior accent walls if you use a porous primer over drywall, though the matte chalky texture isn’t for everyone.
Lime plaster excels in:
- Bathrooms and kitchens where mold resistance matters
- High-humidity rooms that outperform standard drywall
- Whole-room interiors where you want texture and depth
Avoid lime plaster on exterior walls in freeze-thaw climates unless you’re working with an experienced contractor.
5. Look & Aesthetic
Limewash delivers a soft, matte, slightly cloudy finish with natural color variation. The look reads as authentic, aged, and organic, with subtle shifts in tone across the surface. You get more color depth than flat paint but without any sheen.
The finish looks best on textured surfaces like brick where the irregularity adds to the character.
Lime plaster offers a range from heavily textured to mirror-smooth polished. Venetian plaster achieves a luminous depth with burnished sheen that resembles marble or stone.
Even non-polished lime plaster has more visual complexity than limewash because of the thicker application and trowel marks. The finish reads as high-end and intentional rather than rustic.
Which Should You Choose?
Match your material to your surface and goals.
- Brick exterior or fireplace: Use limewash. Its breathability protects the brick, application is straightforward, and the matte finish complements masonry texture. You’ll spend a fraction of what plaster would cost and can easily recoat when it fades.
- Bathroom or high-humidity room: Go with lime plaster. Mold resistance outperforms painted drywall, and the durability justifies the higher cost in a wet environment. Make sure your substrate is cement board or properly waterproofed drywall.
- Interior accent wall on a budget: Limewash over primed drywall gets you texture and character for $100 – $300 on a single wall. Use a mineral or silicate primer to create a porous bonding layer the limewash can grip.
- Whole-room high-end finish: Lime plaster or Venetian plaster creates premium depth and texture for the look you’re after. Budget accordingly for a medium-sized room with a skilled applicator, and plan for a week or more of work including drying time between coats.
- Historic home restoration: Match the original material. Many older homes used lime plaster on interior walls and limewash on brick or stone exteriors. Replicating the original finish preserves material compatibility that lets old walls breathe.
Related Reading
A look at stain-blocking paints and primers useful for covering damaged or stained plaster and limewashed walls.
FAQs
What are the downsides of limewash?
Limewash rubs off with contact, so walls and furniture touching the surface leave marks over time. It only delivers a matte finish, needs multiple coats for even coverage, and must be applied to porous surfaces or specially primed drywall.
Why did we stop using lime plaster?
Gypsum drywall became the standard after World War II because it’s faster to install, cheaper, and requires less skilled labor. Lime plaster takes longer to cure and demands experienced tradespeople, which couldn’t compete with the speed of postwar construction.
Is limewash cheaper than Venetian plaster?
Yes, by a factor of five or more. Limewash costs $1 – 3 per square foot installed, while Venetian plaster runs $10 – $20 per square foot due to the intensive troweling, polishing, and skill required.
What are the negatives of lime plaster?
High cost, long curing time, and the need for skilled application are the main drawbacks. Lime plaster also cracks if substrate flexes, and repairs are more involved than patching drywall.
Can you limewash over existing drywall paint?
Not directly. Limewash needs a porous surface to bond, so painted drywall won’t absorb it. You’d need to strip the paint or apply a mineral primer that creates a porous bonding layer, which adds cost and prep time.
How long does each finish take to fully cure?
Limewash carbonates and hardens over several weeks but is dry to the touch in hours. Lime plaster takes 30 – 90 days to fully cure depending on thickness and humidity, though it’s hard enough for light use after a week.
Final Verdict
Pick limewash for budget-friendly DIY projects on brick, stone, or masonry where you want breathability and a matte finish you can recoat every few years. It’s the smart choice for exteriors, fireplaces, and accent walls where the rustic look fits.
Choose lime plaster when durability, moisture resistance, and a premium interior finish justify the higher cost and professional application. Bathrooms, whole-room finishes, and high-end accent walls benefit from plaster’s depth and longevity.
One edge case: damp basements and older homes with moisture issues benefit from either finish because both are breathable and naturally resist mold better than conventional paint.
Test a small section before committing. Buy a quart of limewash or hire a plasterer to finish a closet or small wall so you can live with the look and texture before covering an entire room.
We’re based in Fish Hawk, Florida, and help Tampa Bay metro area homeowners who want straightforward advice on lime finishes before committing to a full project. We bring limewash and lime plaster samples for in-home previews to let you see how each finish looks on your actual walls and in your lighting. To schedule a consultation and have us assess your surfaces, moisture conditions, and budget, call 813-860-8661 or review what we include in our interior painting services.